
How to Paint Kitchen Cabinets

Hello There Design Aficionados!
Do you believe that paint can transform? I do. The right colors applied strategically along with a few simple updates can take an outdated kitchen and transform it. You’ll wake up early on the weekend to whip it up a stack of pancakes for your family.
Failing to plan is planning to fail
When we purchased this house we knew it would be a big undertaking. This kitchen was sadly out dated and needed some love to bring it into the 21st century. I began to dream about what this refreshed kitchen could mean to a family. What improvements needed to happen, what to focus your eye on for the most success.

Knowing that it is expensive to rip out a kitchen and start from scratch. Even with the square footage of this house being under 2500 square feet. #smallhouse. The basic floor plan was generally good with a good triangle. We made minor changes in our plan. I generally believe that if you buy decent quality the first time we keep more out of our landfill. For these reasons we went ahead with our plan to paint the kitchen cabinets. It’s easy enough for a DIY project. “You are a woman, Hear me roar,” after all. To have success in this project, The Panache is in the quality prep and tools used. If you have been following me for a while, you know that I talk about getting a plan and doing your prep work for the best result.
You will need a space large enough to lay out all of your doors, that is well ventilated, and to work in and to allow everything to dry for extended periods of time.
Pro Tip:
Be sure to protect all of your surfaces before starting drape a drop cloth on anything that you don’t want to clean drips and splatters of paint off of. You will thank me later.
Remove remove handles and knobs from the cabinet doors. Be sure to place hardware with their screws in a baggie. Our project did not have handles and knobs. But you may have them on your project. If you are not going to reuse your knobs and handles, make sure to donate or sell on Facebook marketplace. I like to keep as much out of the landfill as I possibly can when doing a project.
Label all doors and hinges and cabinets corresponding numbers. Number the inside of the cabinet with masking tape. Remove hinges, label, and place them in a Ziploc baggie.
Pro-tip:
Label doors with blue masking tape on the inside of the hinge circle. It doesn’t get painted over.
Place thin Nails at the top of the door and bottom of the door and place on saw horse so that you can paint both easily.
To clean the cabinet doors, face frame and sides of the cabinet cues a product such as Krud Kutter or TSP until no longer pulling grime And your cloth is clean.

Using 150 grit sand paper, go over each side of the door, cabinet, face frame, and sides of the cabinet. Wipe clean.
Next, using 220 smooth sand paper, go over both sides of the cabinet door, the face frame, and sides of the cabinet. Until the sheen is gone this time you will dust off each of the surfaces with tack cloth tack cloth.tack cloth is a cheesecloth that is infused with beeswax, so that you have a dust-free piece object.
In your dust free environment
Using a primer, such as Benjamin Moore, Fresh Start high-hiding all-purpose primer lays the foundation for a successful paint job. According to the Benjamin Moore website this acrylic primer offers
maximum hide seals and suppress the stains and provides a mildew resistant coating for wood and other surfaces
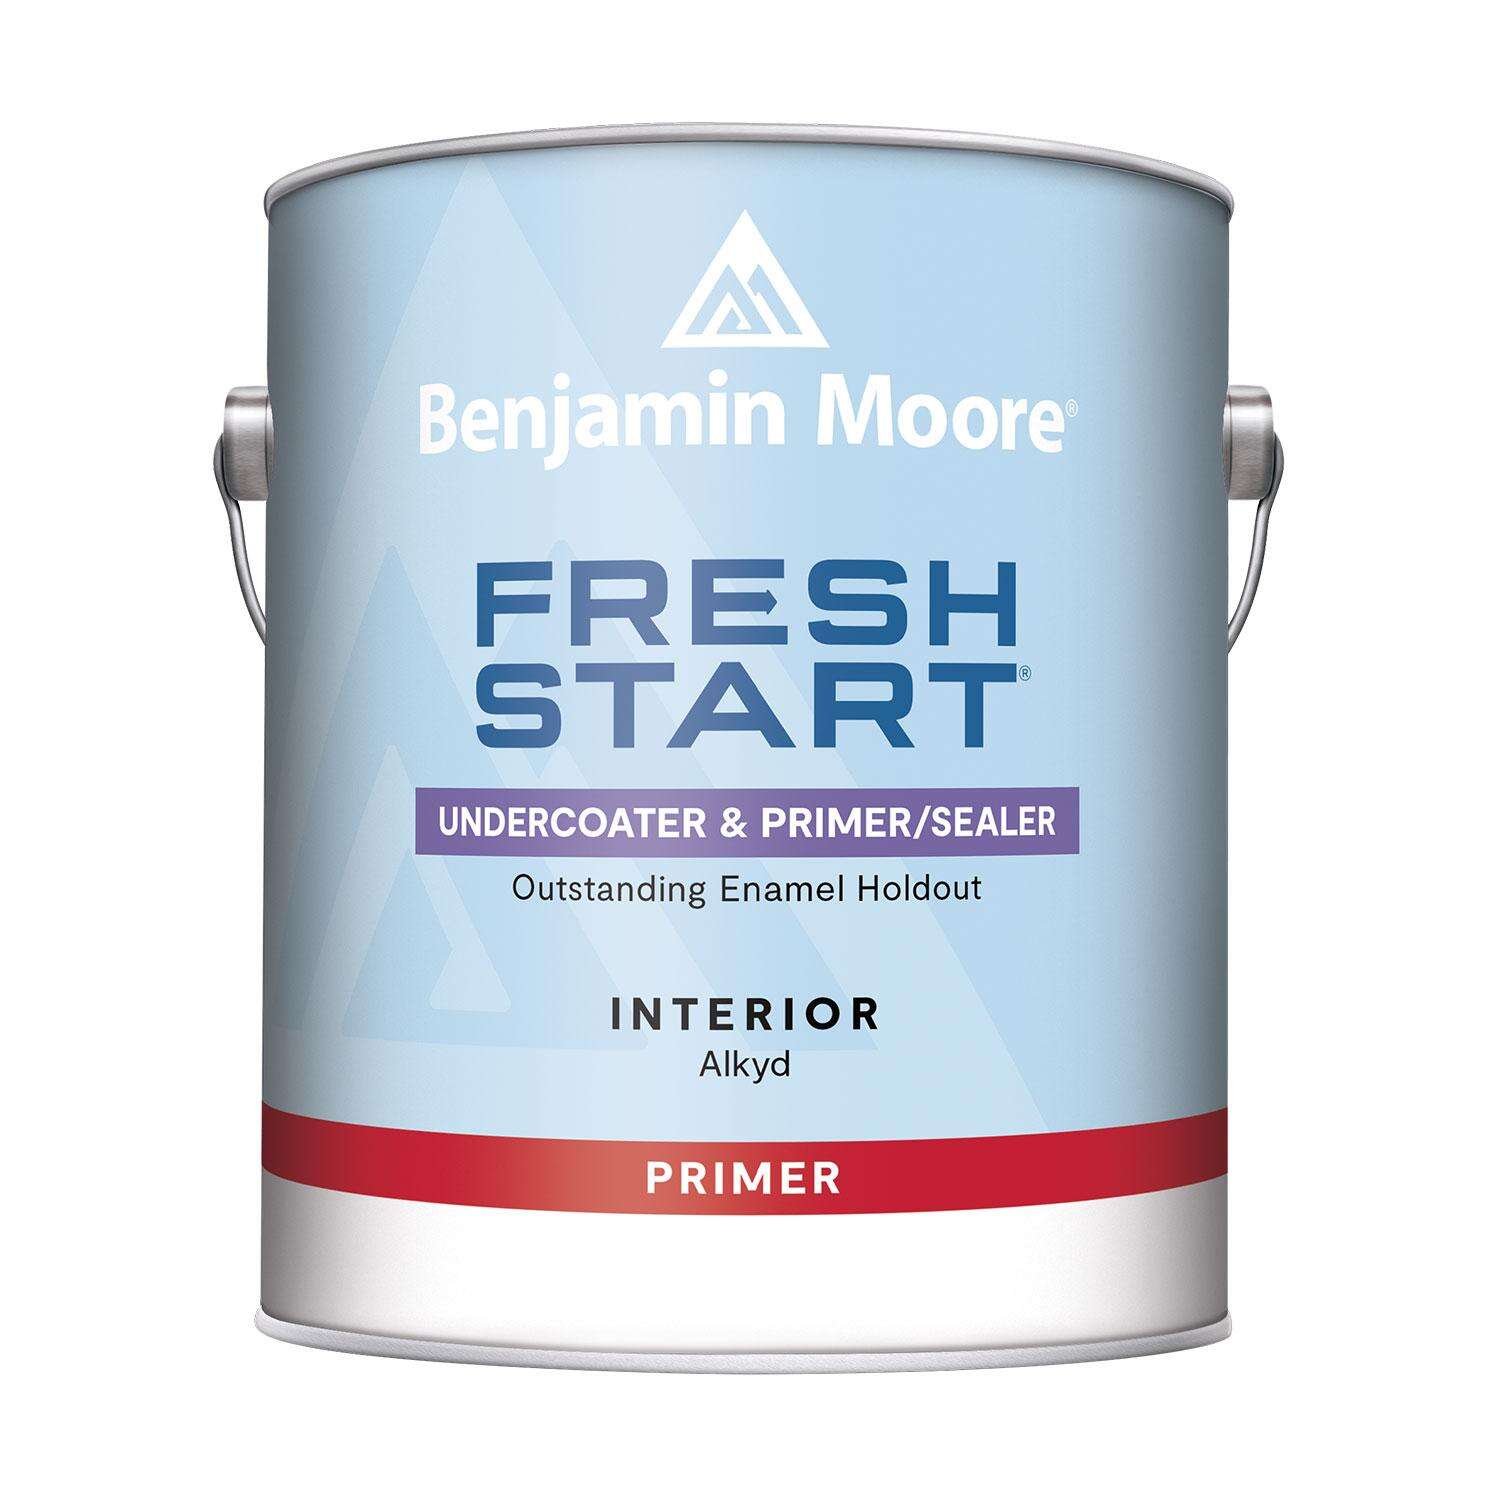
It is no problem to paint a darker color, fresh start is perfect. Use a Zibra 2 inch angled brush and wait 24 hours to let the paint dry thoroughly.
The Waiting is the Hardest Part
Each coat requires 24 hours to dry. So crank up the tunes, grab yourself your favorite beverage and relax, with a book.
OK it’s been 24 hours and you are ready to sand yet again with a find 220 grit sandpaper or sanding block and sand all surfaces lightly, especially focusing on drips or pools in the inside corners. Make sure everything is as even as possible. Then, wipe away any dust with a tack cloth, and for extra measure, wipe away with a slightly damp cloth, and then let dry.
Now you are ready to apply color. We used the Color Palette+ system to create our plan.

The concept
Apply Benjamin Moore Advance paint on each side of the doors, face frame and sides of the cabinet. Let dry another 24 hours before sanding with 220 grit sandpaper. I specify either Satin or Semi-gloss finish for cabinetry.

Apply your second coat of advance. Let it dry for at least 24 hours in a well ventilated area however, 2 to 3 days is even better. The longer the paint dries the more durable it’s finished will be in less likely it will stick during re installation.
Come together, right now
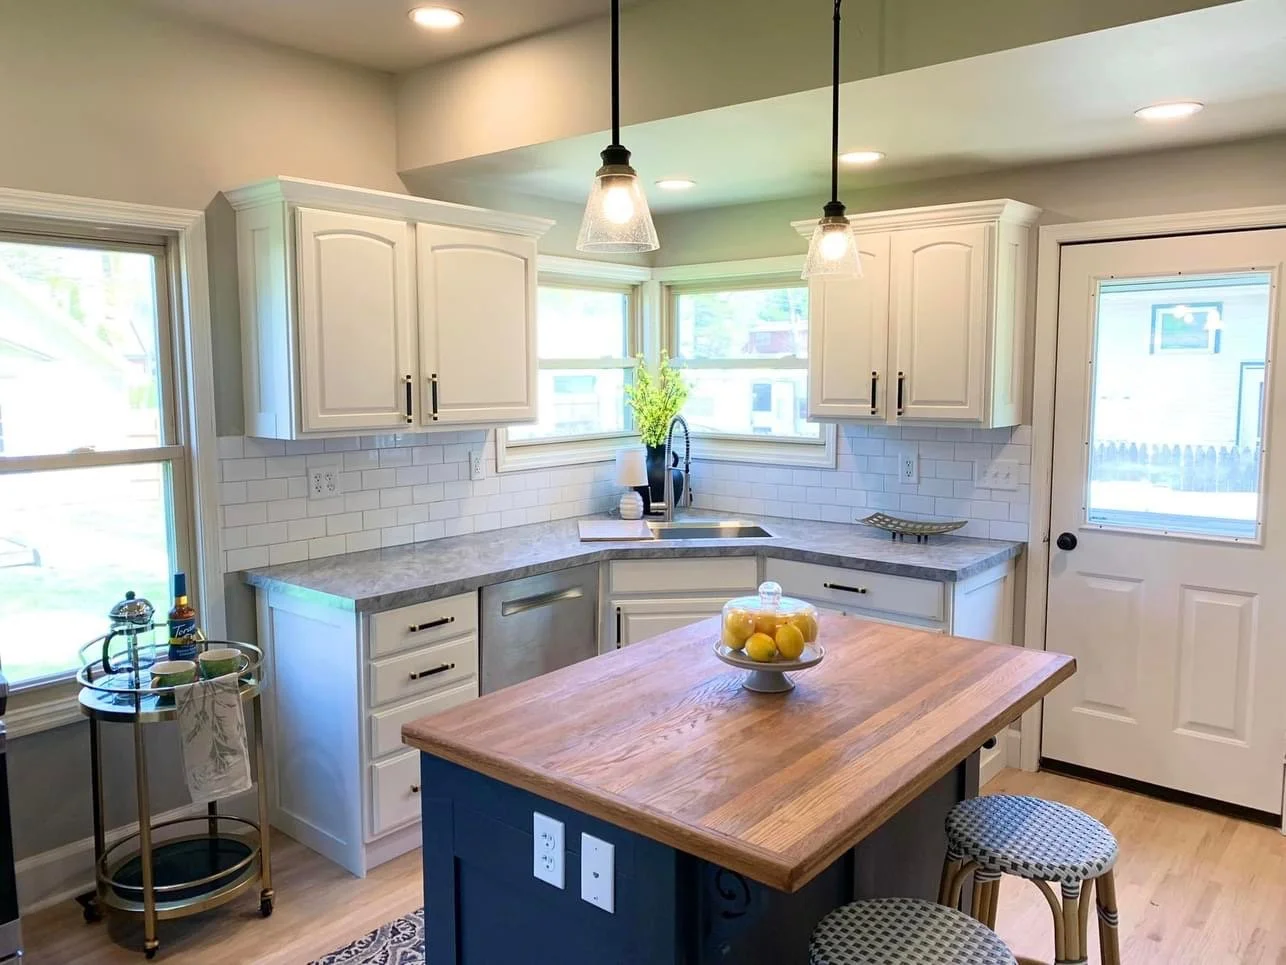

Paint did the heavy lifting to transform this kitchen. The hardwood flooring was extended from the living room and dining room into the kitchen to create a cohesive design and add warmth. On the existing cabinets, we used White Dove OC -17 on the perimeter and Mysterious AF-565 on the island. Mysterious is a blue color that can at times chameleon into charcoal. Mr. Man added crown molding and finished sides for an upgrade and brought the soft white subway tile up to the ceiling behind the stove hood. It wouldn’t be right not to add that he built this butcher block countertop island. It really is imperative for your contractor to care about the small details and Mr. Man didn’t disappoint. For a touch of bling, we added 5 inch bar handles in black and gold, to repeat the black and gold in the pendant lighting. Those little touches brought it all together.

Liberty 5” Bar Handles in black and gold via Wayfair
I was so giddy the day the hardware was installed. It contrasts with the soft white cabinets as well as the darker island. It is the jewelry in the room after all. Isn’t it stunning?!
Kitchens sell homes and it certainly sold this one.
Can your kitchen be transformed with the right color palette and a bit of paint?

